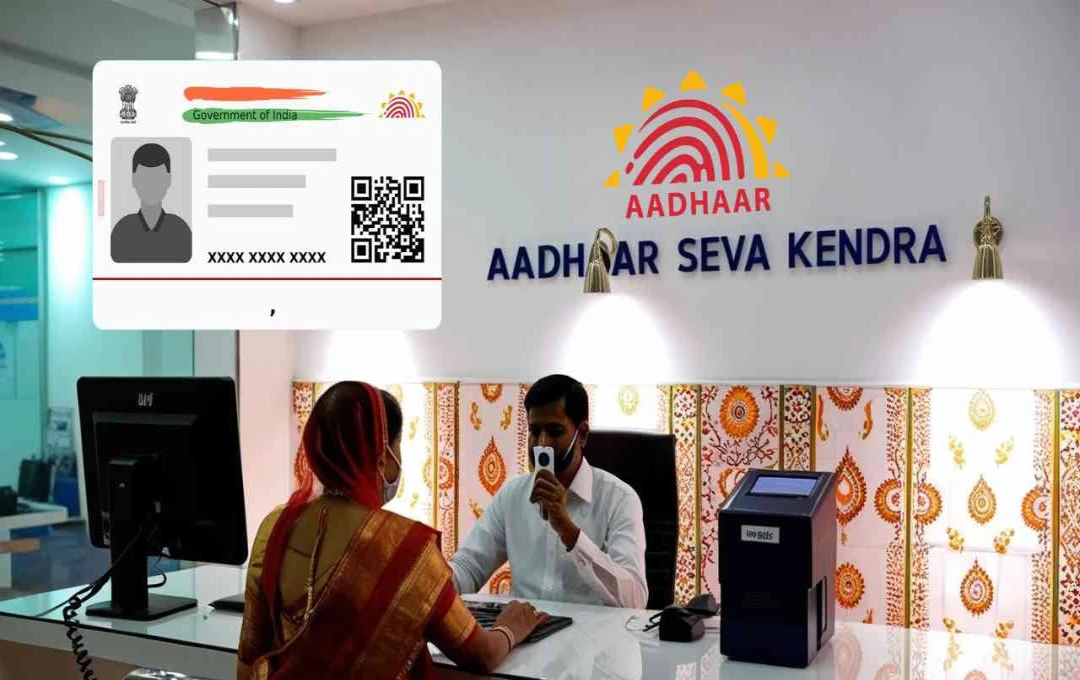
New Delhi: The Aadhaar card has become a crucial identity document for every citizen in India. It is required for banking, government schemes, and various other essential services. However, many individuals are dissatisfied with the photograph printed on their Aadhaar card. The good news is that you can now update your Aadhaar photograph through a simple process.
Main Reasons for Photo Change:


Often, the photograph on the Aadhaar card is blurry or outdated, making it difficult to identify the individual. Therefore, many people wish to update their photo to avoid any identification issues.
How to Change the Photo on Your Aadhaar Card: A Step-by-Step Guide
- Visit the UIDAI Website: First, visit the official website of the UIDAI (Unique Identification Authority of India): https://uidai.gov.in.
- Download the Form: Download the Aadhaar Enrolment/Update Form from the website.
- Fill out the Form: Print the form and fill in all the required information accurately.
- Visit an Aadhaar Seva Kendra: Visit the nearest Aadhaar Seva Kendra (Aadhaar Service Center) with the completed form and necessary documents.
- Biometric Verification: Your biometric identity will be verified at the service center, and your new photograph will be taken at the same time.
- Pay the Fee: You will need to pay a fee of ₹100 (including GST) for the photo update. You will receive a receipt containing an Update Request Number (URN).
- Track Photo Update Status: You can track the status of your photo update using your URN number on the UIDAI website.
What is the URN Number?
The Update Request Number (URN) is a unique number provided during the Aadhaar update process. This number allows you to track the status of your update online.
If you are also dissatisfied with the photograph on your Aadhaar card, updating it is now very easy. By following a few simple steps, you can update your identity document with your desired photograph.